When using german grip, some of my drum students have asked, “where should their drumsticks be placed in relation to their palms?”
There are a few different schools of thought here. One setup is that the stick should be placed directly down the middle of the palm (fig 1). Using this placement helps the stick feel like an extension of your hands and enables contact with the meaty part of the finger tips on the stick, which is beneficial.
However, one potential problem with this placement is that with most hands the pinky will lose contact with the stick. I have average size hands and fingers; as you can see (fig.1) my pinky is not able to easily connect with the stick. Another drawback is that due to the alignment of the butt-end of the stick, you can’t easily use this placement for any Moeller-esque strokes.
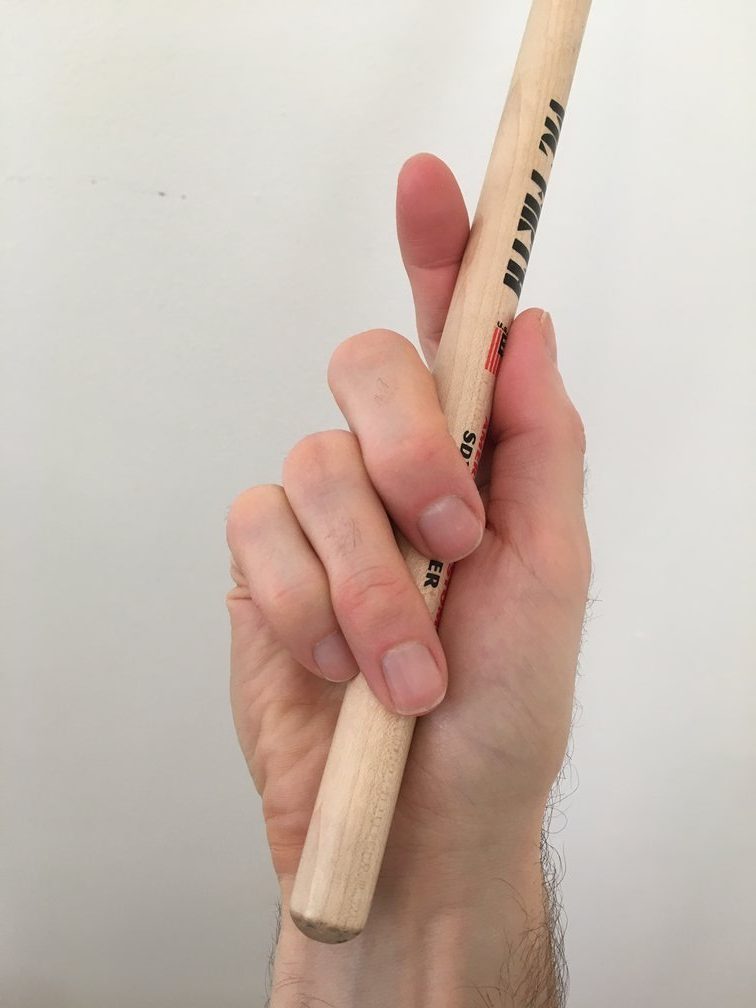
Fig. 1

Fig. 2
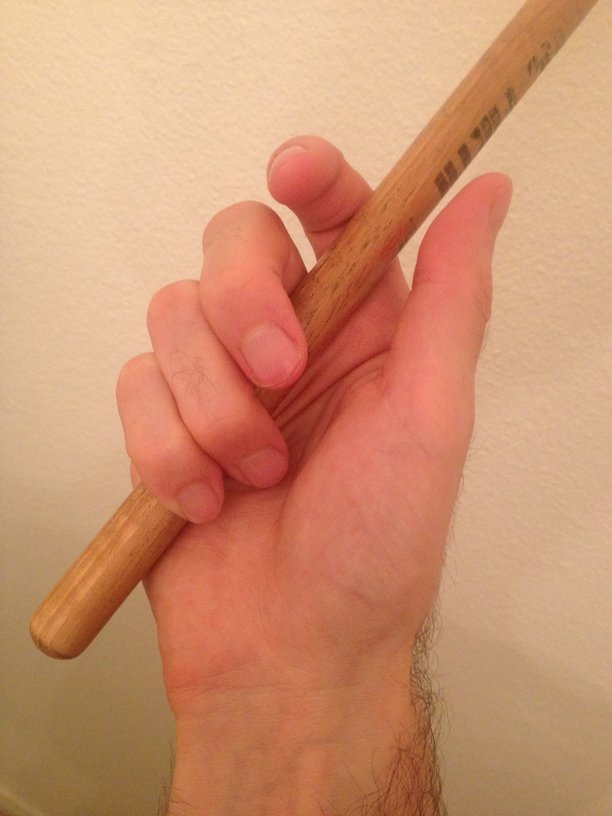
Fig.3
In fig. 2 the base of the stick is placed on the lateral aspect of the palm. This placement provides connectivity for all fingers regardless of the size of the hands. This placement creates a solid foundational drumming grip that can easily be utilized for Moeller-type playing.
This is also the placement that Sanford (Gus) Moeller talks about in his seminal Moeller Book. Moeller’s recommended right hand grip (Fig. 3) placed the fulcrum with the fourth finger. This enabled the snare drum players of his time to play downstrokes with more leverage while remaining relaxed. While we don’t see too many players utilizing it today, it could be considered as a training technique to build up strength in the back fingers.
Another popular setup is to place the drum stick over the outside edge of the wrist bone known as the pisiform (fig. 4). This placement is illustrated in “Practical Method of Developing Finger Control” by Roy Burns and Lewis Malin. This placement gives you the best of both worlds as it’s a good choice for Moeller strokes and it also gives you optimal finger control especially with the fourth and fifth fingers.

Fig. 4