Drumstick Grip Palm Placement – German Grip

When using german grip, some of my drum students have asked, “where should their drumsticks be placed in relation to their palms?”

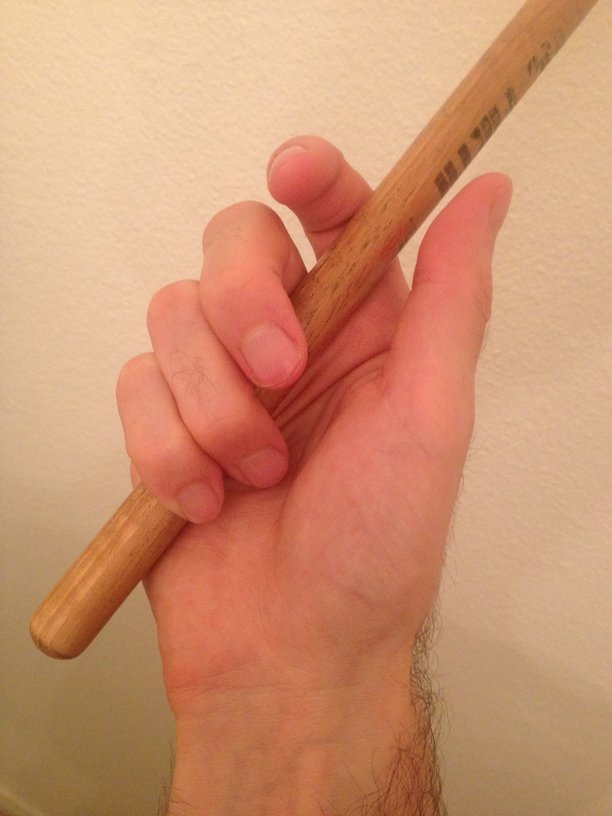
There are a few different schools of thought here. One setup is that the stick should be placed directly down the middle of the palm (fig 1). Using this placement helps the stick feel like an extension of your hands and enables contact with the meaty part of the finger tips on the stick, which is beneficial.

However, one potential problem with this placement is that with most hands the pinky will lose contact with the stick. I have average size hands and fingers; as you can see (fig.1) my pinky is not able to easily connect with the stick.  Another drawback is that due to the alignment of the butt-end of the stick, you can’t easily use this placement for any Moeller-esque strokes.
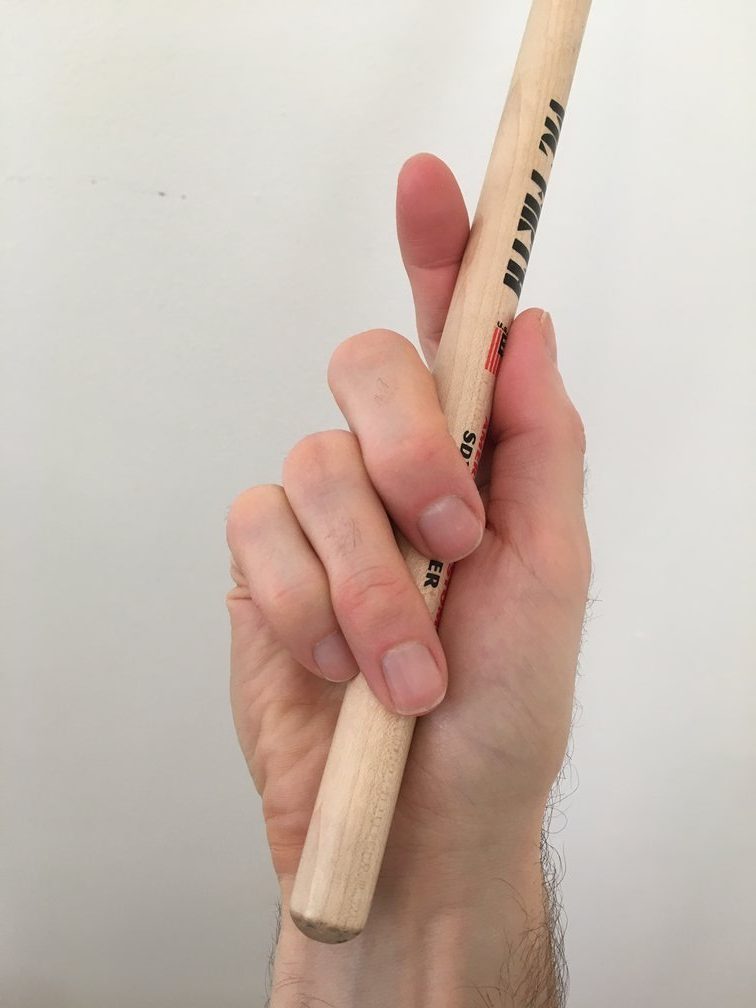
center palm drum stick placement grip

Fig. 1

Lateral Palm Drum Stick Placement

Fig. 2

Fig.3

Fig.3

In fig. 2 the base of the stick is placed on the lateral aspect of the palm. This placement provides connectivity for all fingers regardless of the size of the hands. This placement creates a solid foundational drumming grip that can easily be utilized for Moeller-type playing.

This is also the placement that Sanford (Gus) Moeller talks about in his seminal Moeller Book. Moeller’s recommended right hand grip (Fig. 3) placed the fulcrum with the fourth finger. This enabled the snare drum players of his time to play downstrokes with more leverage while remaining relaxed. While we don’t see too many players utilizing it today, it could be considered as a training technique to build up strength in the back fingers.

Another popular setup is to place the drum stick over the outside edge of the wrist bone known as the pisiform (fig. 4). This placement is illustrated in “Practical Method of Developing Finger Control” by Roy Burns and Lewis Malin. This placement gives you the best of both worlds as it’s a good choice for Moeller strokes and it also gives you optimal finger control especially with the fourth and fifth fingers.

Pisiform palm drum stick placement

Fig. 4

How to Hold Drum Sticks for Beginners (Video)

fulcrum

In terms of holding the sticks, there are a few different grip points to consider. The Moeller book teaches it from the back fingers (little finger grip). Murray Spivack’s technique teaches the fulcrum between the thumb and middle finder. For most beginners I find that the easiest fulcrum to teach and learn is between the thumb and the index finger.

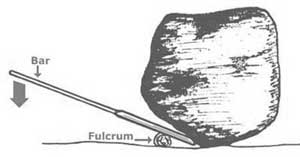
So what is this thing we drummers call “fulcrum.” For starters, it’s a term that has gained enough attention to warrant a wikipedia entry. Basically, the fulcrum is the support which enables a lever to pivot. It’s an engineering term that has been adapted by drummers to notate the area of the grip that acts as a hinge to enable the sticks to pivot. Although a fulcrum can exists on different part of the stick, each stick has an optimal area that yields the most rebound for each stroke. I go into more detail on that optimal balance point in the video below as well as a few other details I like to point out when teaching beginners how to hold their drumsticks.


Tango Crash – Otra Senata – Drum Cover (Video)

I wanted to work on something unique that brought in my interest in tango music. Tango Crash is a tango, electro fusion outfit that’s based in Berlin and performs mostly in Europe and South America. They have been developing their sound that includes electronics mixed with piano, drums, trumpet, cello and bandoneón since the late 90s. Since dissecting this track I certainly have a greater appreciation for them. Thanks to my drummer friend Tim De Ramos for helping me make this video!

I’ve also posted my performance with only the drums:

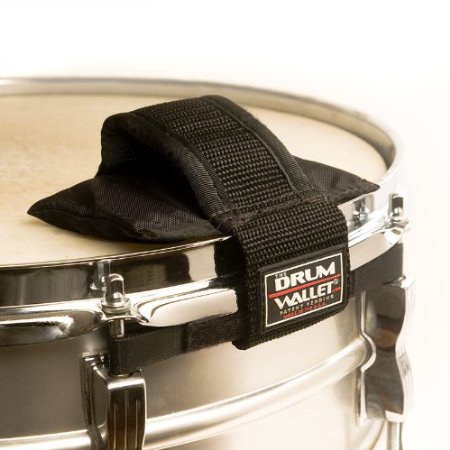
The Drum Wallet – Review

The Drum Wallet
I heard about the The Drum Wallet while attending NAMM and was really interested in checking this product out!

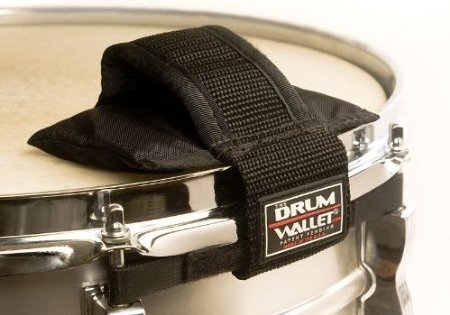
The Drum Wallet is a simple muffling device for the snare drum that enables the user to apply the muffle or remove it on the fly. Having the capability of snare tone management on the fly appeals to me since I like to play songs that cover more than one style.

Installing The Drum Wallet on the snare drum was pretty easy. The product shipped with a short list of directions for application which I followed without any issues.

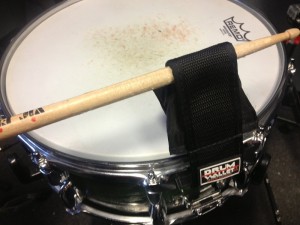
The Drum Wallet design is simple but clever. It’s simply modeled after a wallet (we’ve all used one to muffle a snare drum). The wallet is attached to velcro straps which get threaded around the snare drum’s tension rods. There is a wide sleeve attached to the wallet that enables a drummer to use a drum stick to manage the application on the fly. The fact that you can quickly lift The Drum Wallet on or off the snare drum is brilliant. When the wallet is placed on the snare drum it does a good job of muffling the drum’s tones without completely drowning the natural sound of the instrument. (Like the zero rings sometimes do.)

Snare drum tone management

I was curious to see just how quickly I could add and remove the wallet on the fly. I attached The Drum Wallet to the left side of my snare drum and then immediately started playing while the camera was rolling. I attempted adding and removing the muffling device using both traditional and matched grips–all while keeping time. My first try was a little rough (as seen below). I soon realized that placing the wallet onto the drum takes slightly more coordination than removing it. Once I got the feel for that it was smooth sailing for both grips!

I’ve since taken The Drum Wallet with me on a few gigs and really like the flexibility of having multiple sounds for the snare drum. I’m also looking forward to using it in the studio. You can purchase one on Amazon or on The Drum Wallet’s website. For more information you can check out thedrumwallet.com.